In Windows you can create custom keyboard shortcuts to make it easier to open programs that you use on a regular basis.
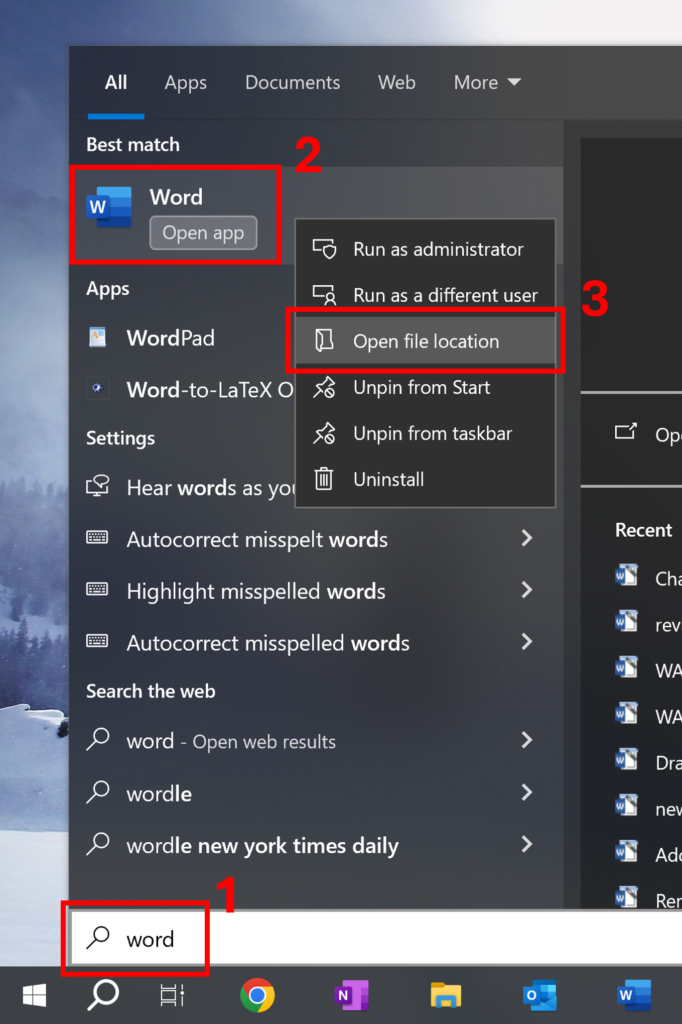
Go to the search bar and type in the application you want to create the shortcut for. Right click on this application and select Open file location. In this example, we are searching for Microsoft Word.
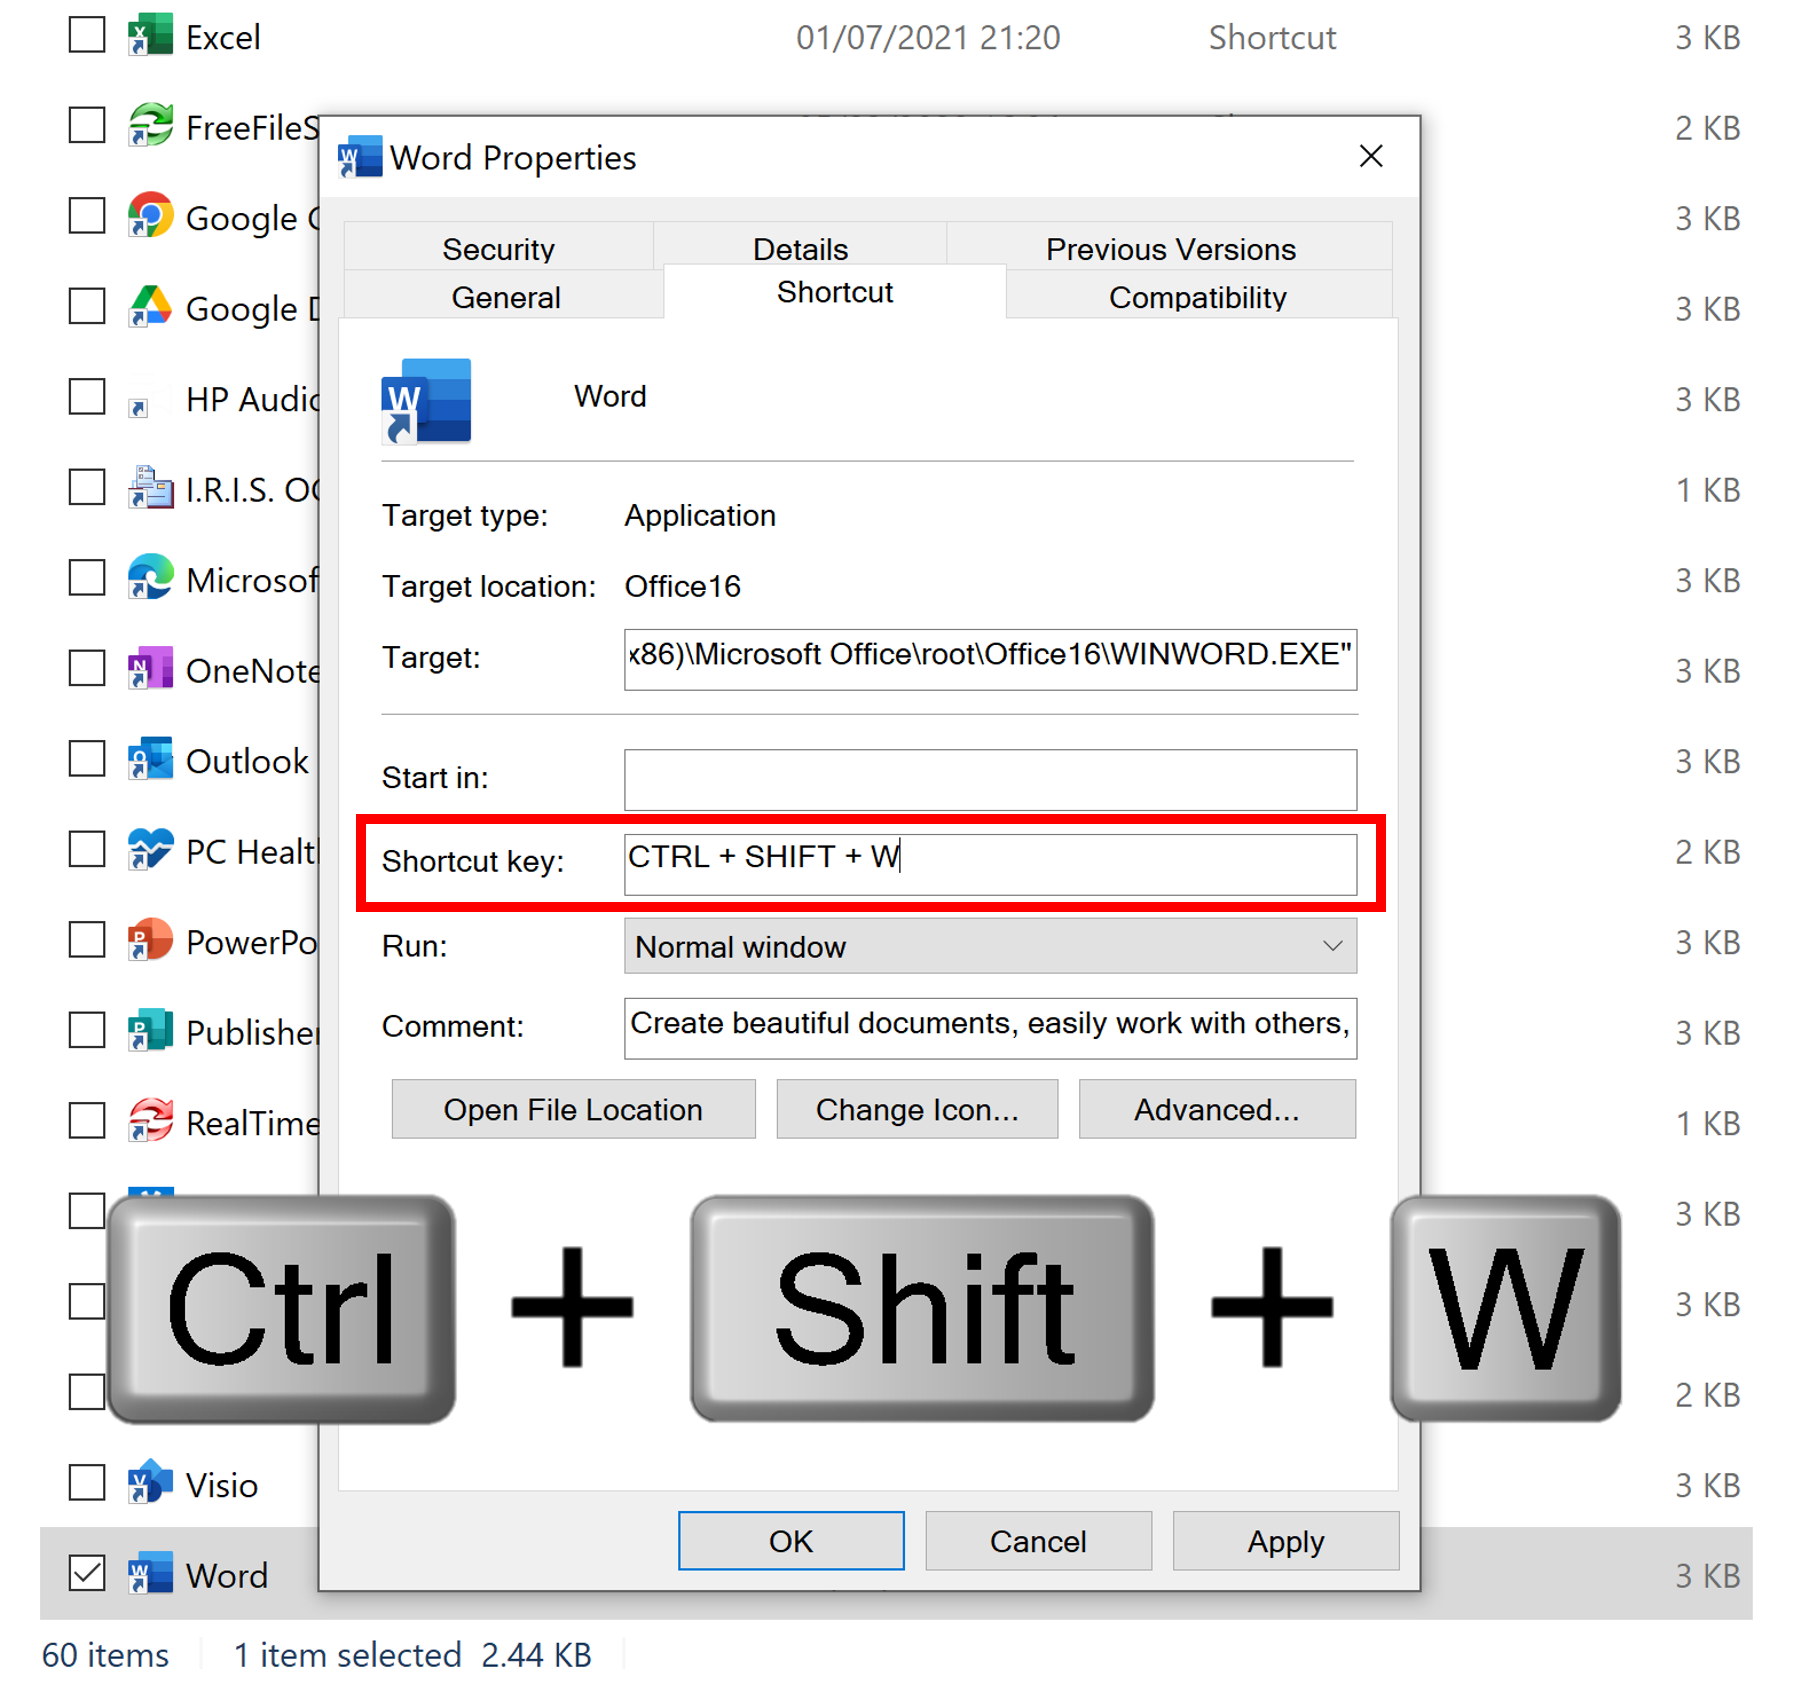
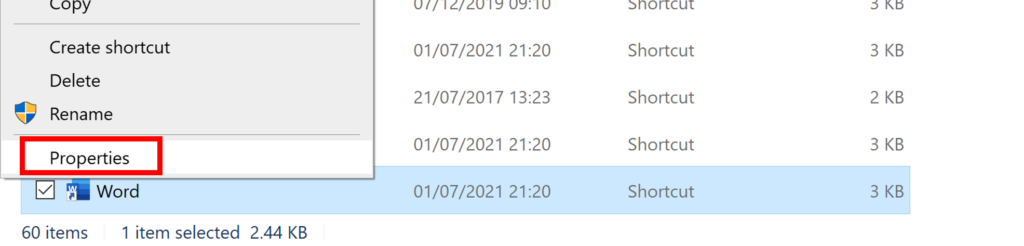
In the File Explorer window that opens, right click on the shortcut for the application and select Properties.
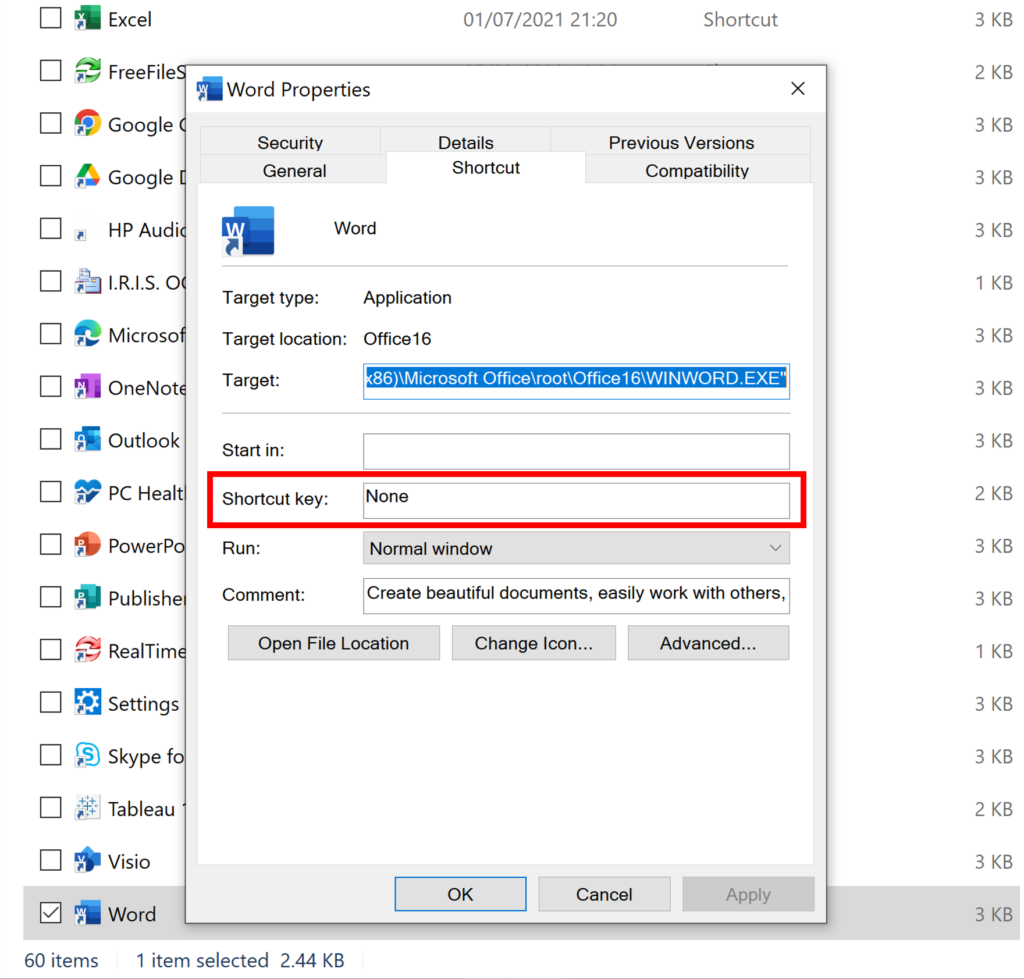
In the Properties window, go to the Shortcut tab, and you’ll see there is a Shortcut key box, that is currently None.
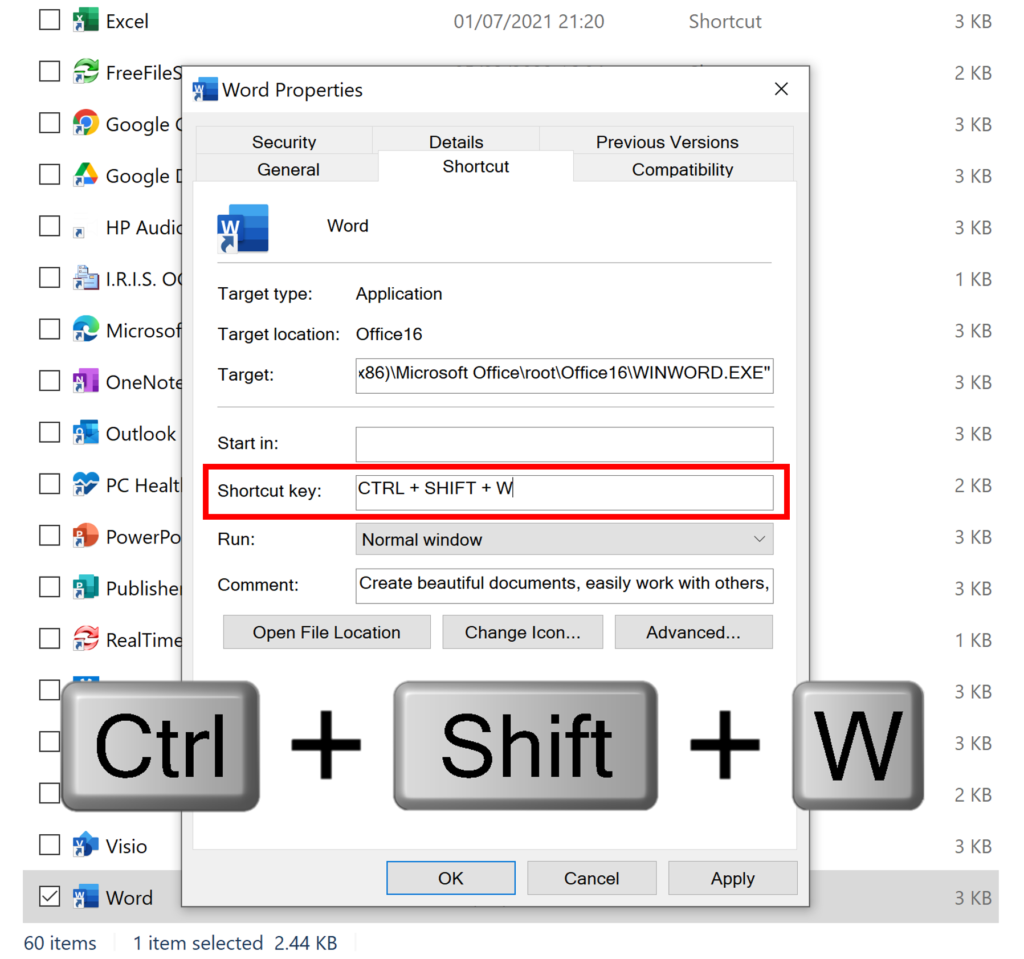
You can change this to be any keyboard shortcut you want. Make sure not to use a shortcut that is already used for something else. In this example, I used CTRL + SHIFT + W. To do this you do not type in the letters, you click in the box and then hold down the keys on the keyboard that you want to use as your shortcut. Also, if you want to change it back to None at any point, you can’t type in the word None, you have to click in the box and then press Backspace on the keyboard.
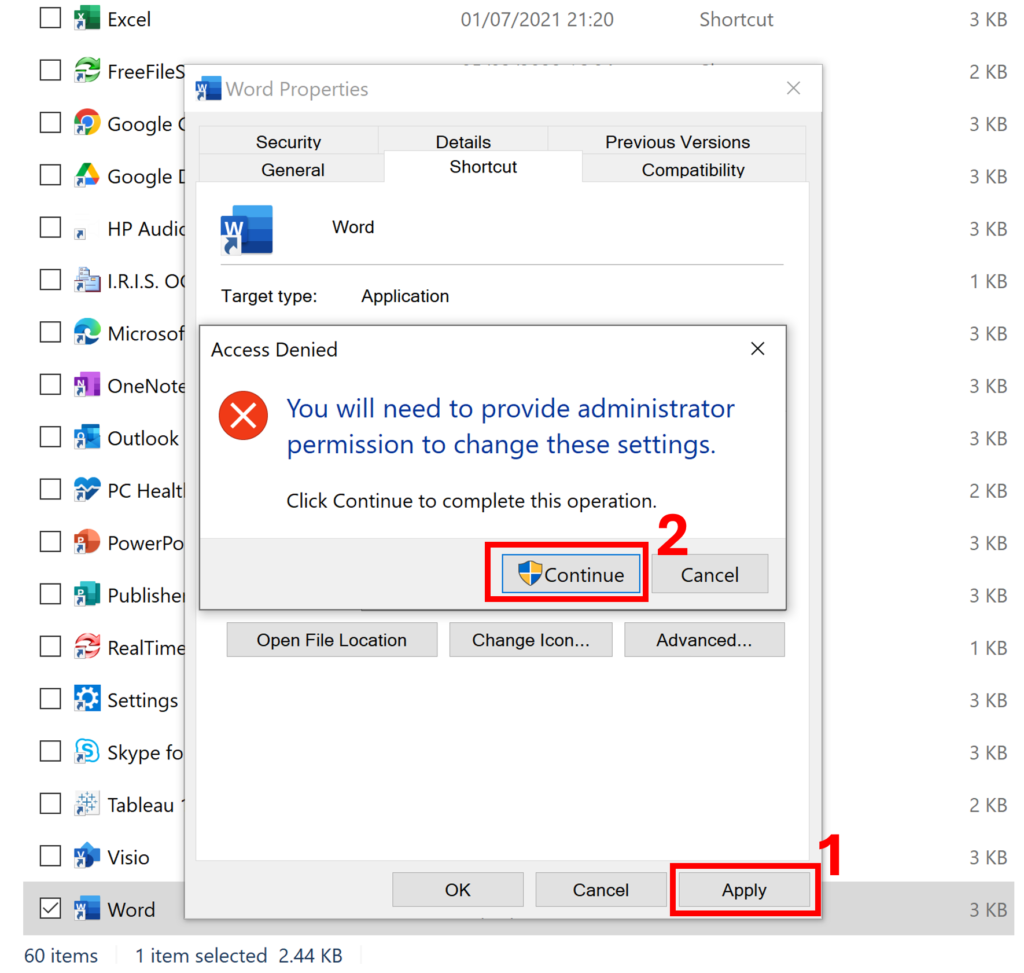
To apply these changes, click on Apply in the bottom right hand corner. This will cause a warning message to pop up, saying you need administrator permission to make these changes, click Continue, and then you can close the Properties window.
Now, you can use your keyboard shortcut, whenever you want to open the application. So in this example, when I press CTRL + SHIFT + W, Microsoft Word will open.
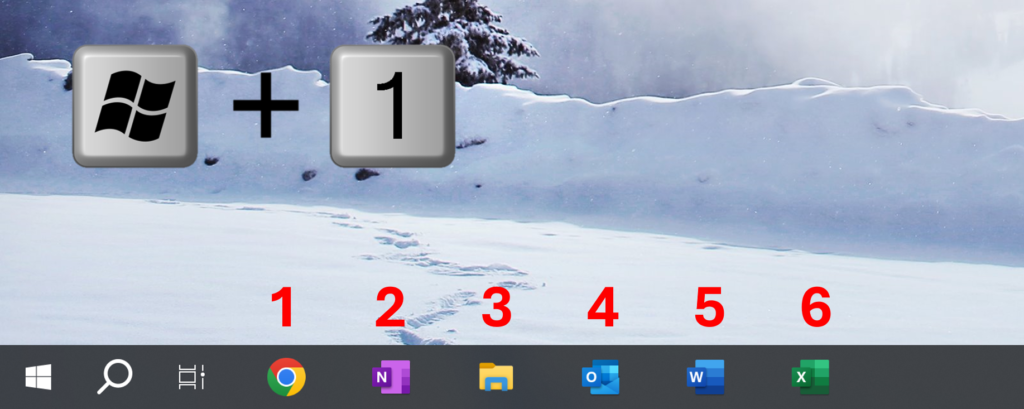
Bonus Tip: You can open the applications on the taskbar using the windows key and a number. The numbers correspond to the position of the application on the taskbar, counting from left to right. So for example, Windows key + 1 will open Google Chrome.