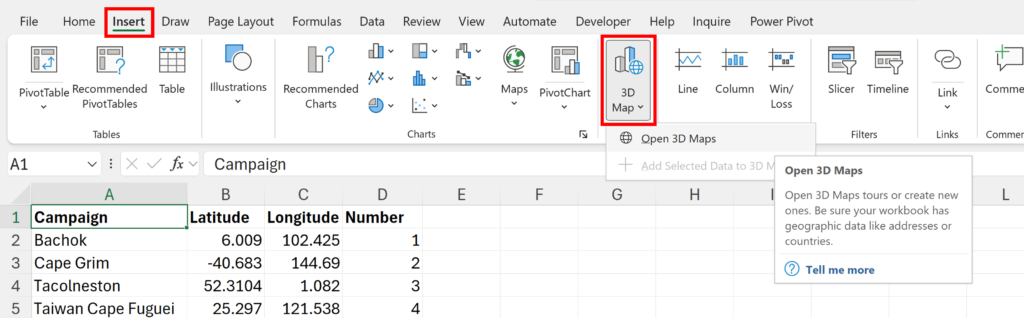
Microsoft Excel has a feature for making 3D maps using Bing, but you can also use this to make 2D maps. I have longitude and latitude coordinates of samples that were collected during multiple research campaigns.
Firstly, click somewhere inside your table and go to the Insert Tab and select Open 3D Maps. The first time you do this you might have to Enable 3D Maps.
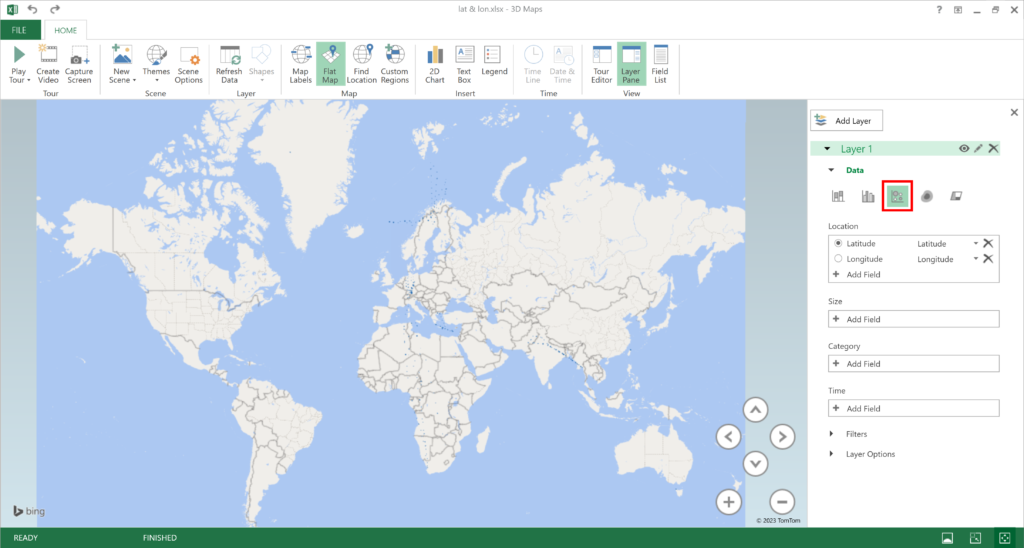
This will open up a new window, with all of your locations plotted on a 3D map. It’s smart enough to figure out that the columns with the headings latitude & longitude have the latitude and longitude coordinates, but if not you can select the correct columns using the dropdown lists in the Location box.
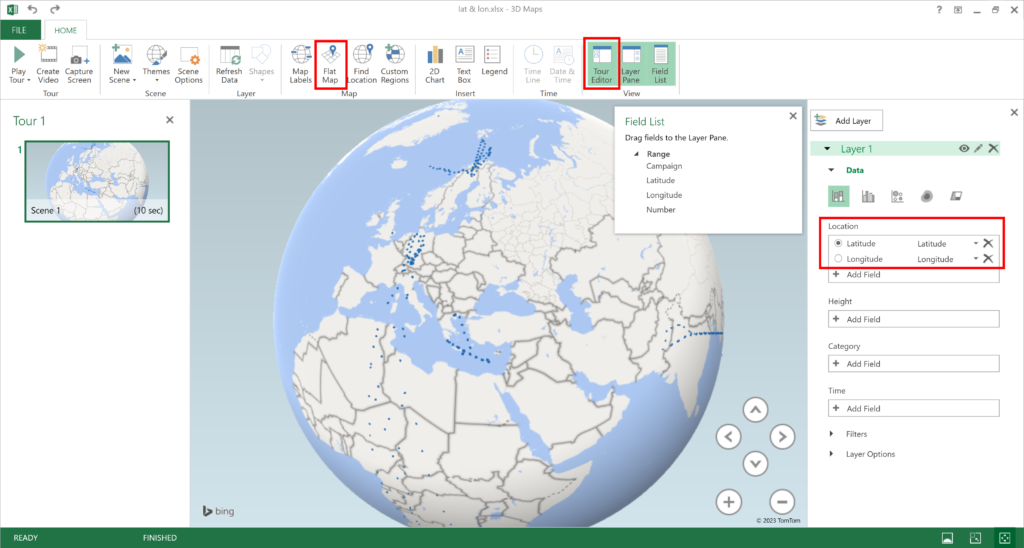
Remove the Tour Editor, the pane on the left hand side, to make more space.
To turn it into a 2D map, select Flat Map.
Its difficult to see because the data points are so small, but they are squares, to change them to circles, change how the data is plotted from a bar chart to a bubble chart.
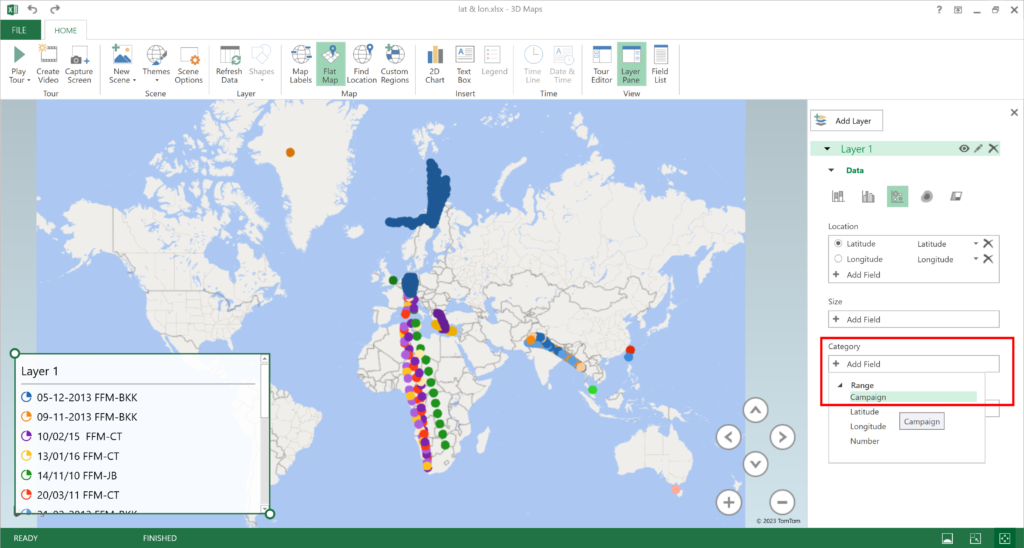
In Layer Options increase the size of the dots to make them easier to see.

To make the data points different colors, go to the Category dropdown list and select the column heading for the column that has the categories in it, in this example, it is the Campaign column, so each research campaign is a different color.
Right click on a data point to add an annotation.
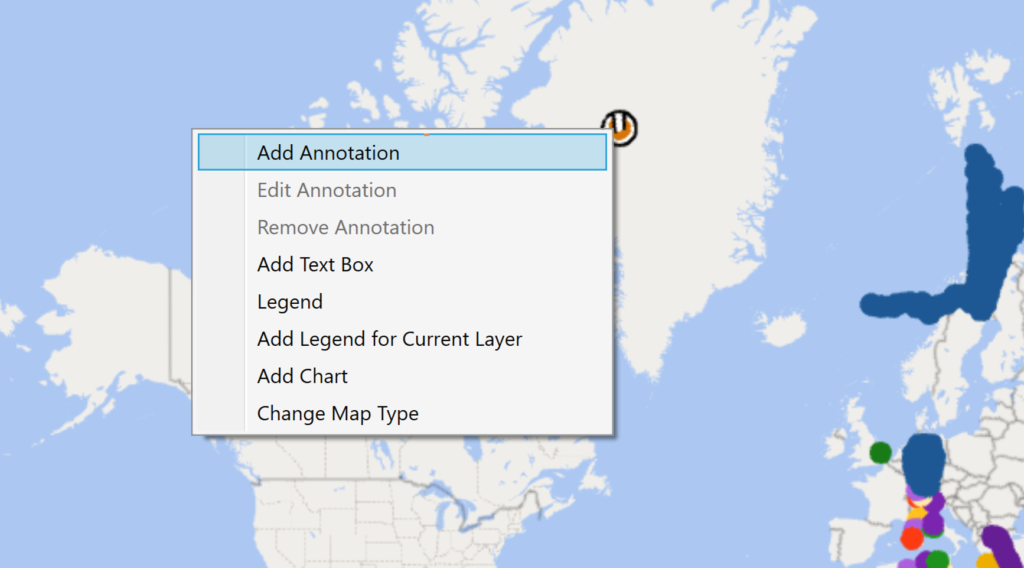
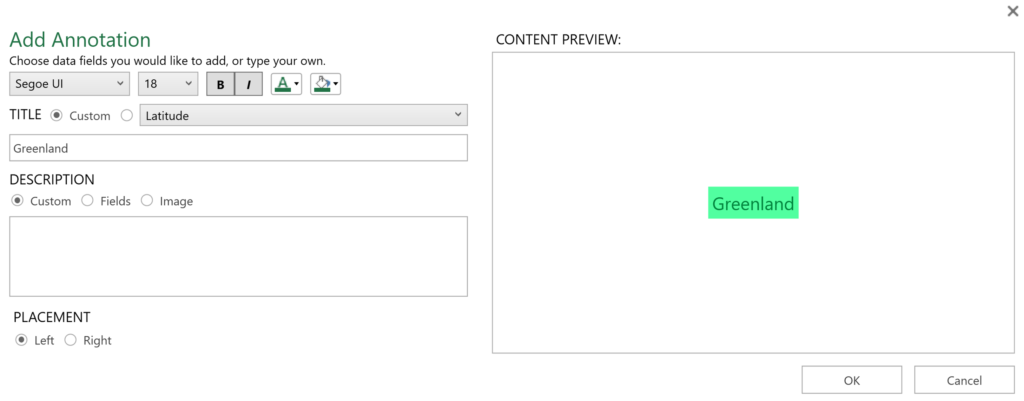
There are multiple options for controlling how the annotation looks, including using images.
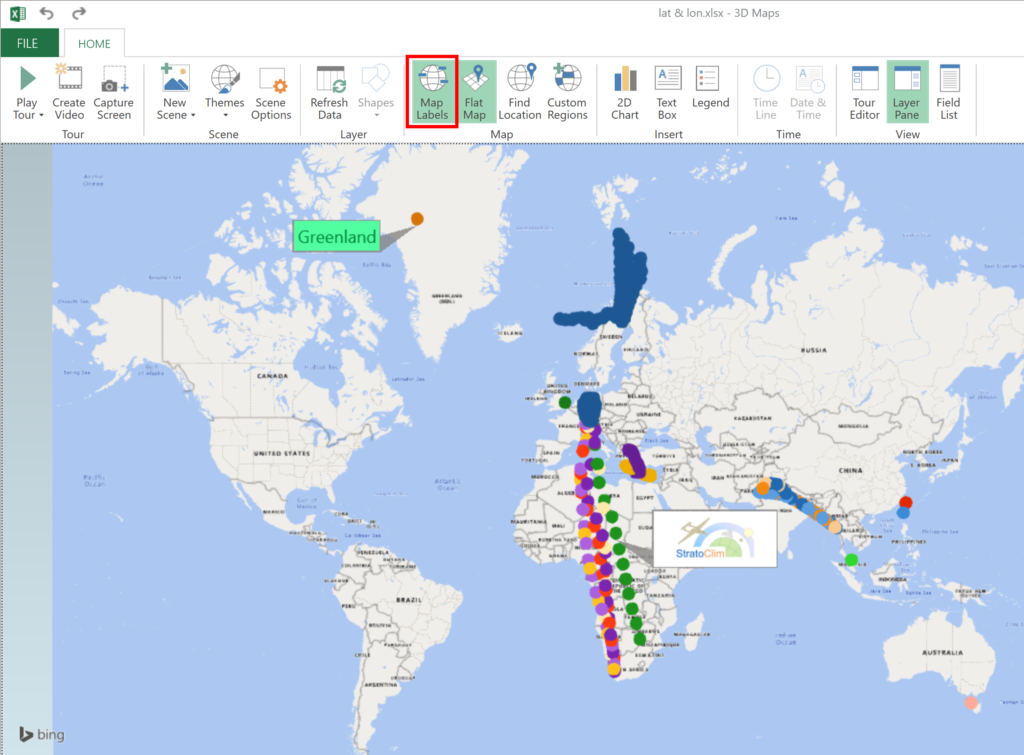
To label all of the countries and oceans, click on Map Labels.
There are multiple Themes to choose from to change how the map looks.

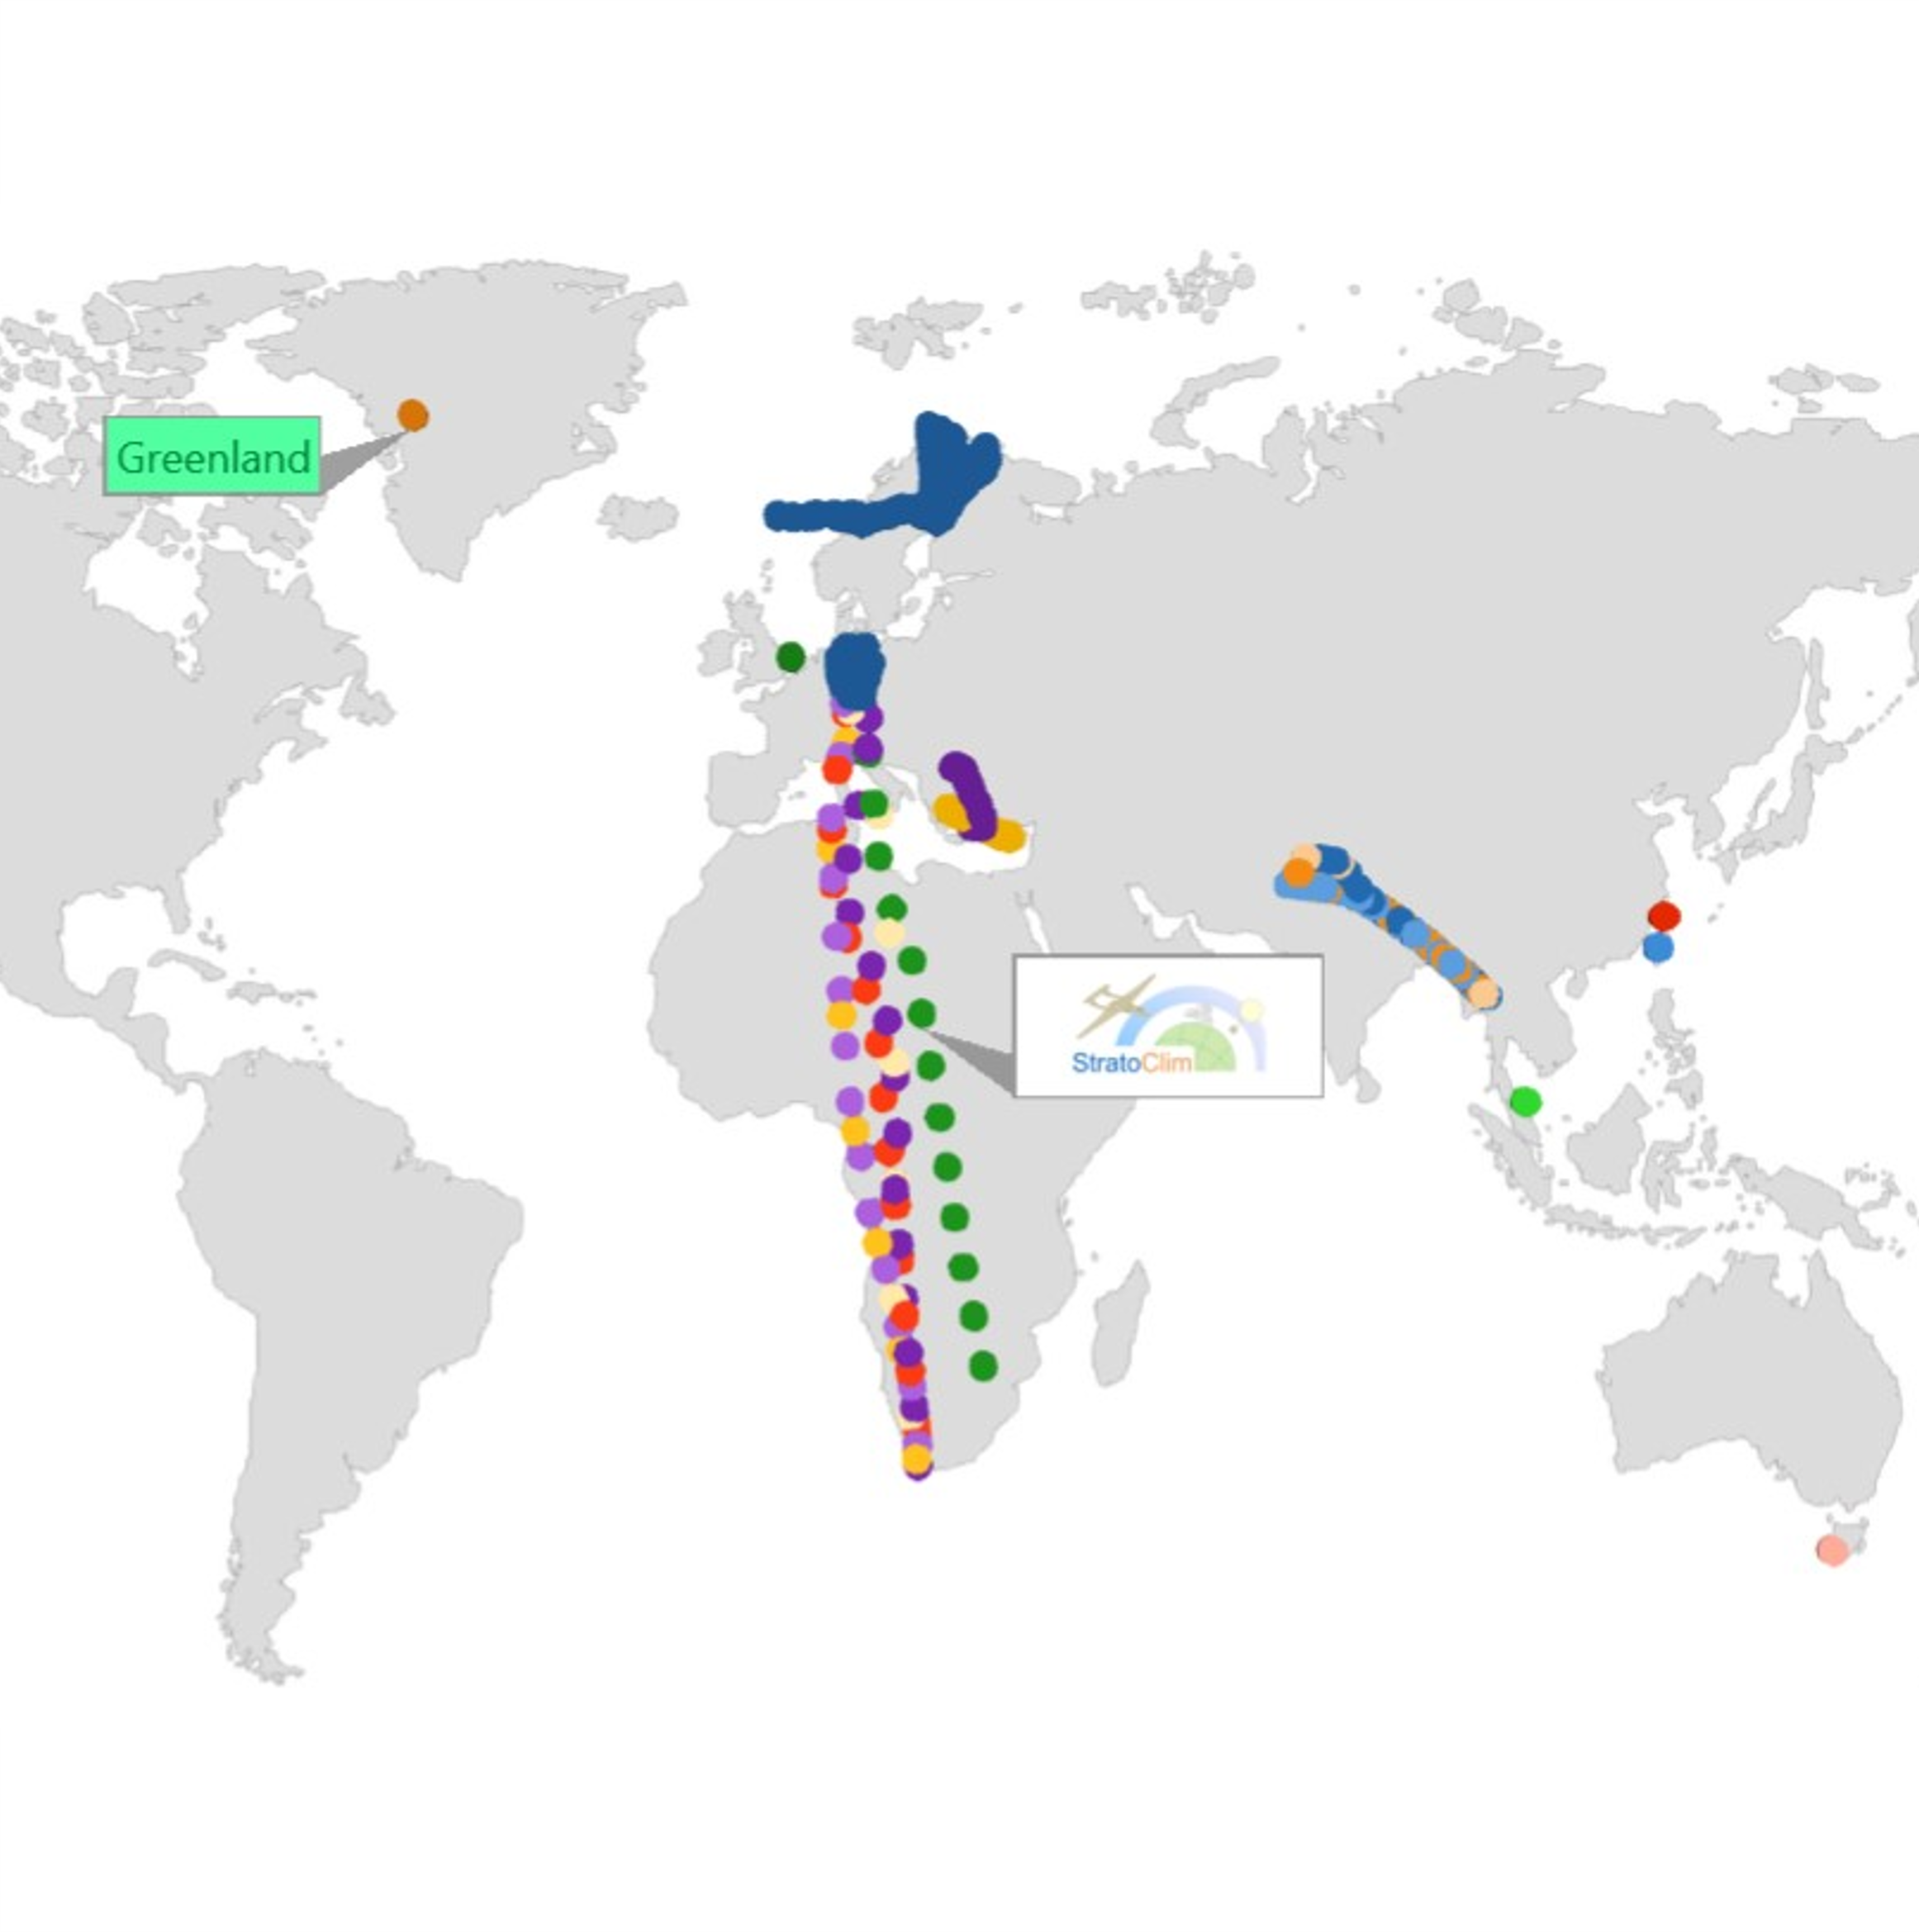
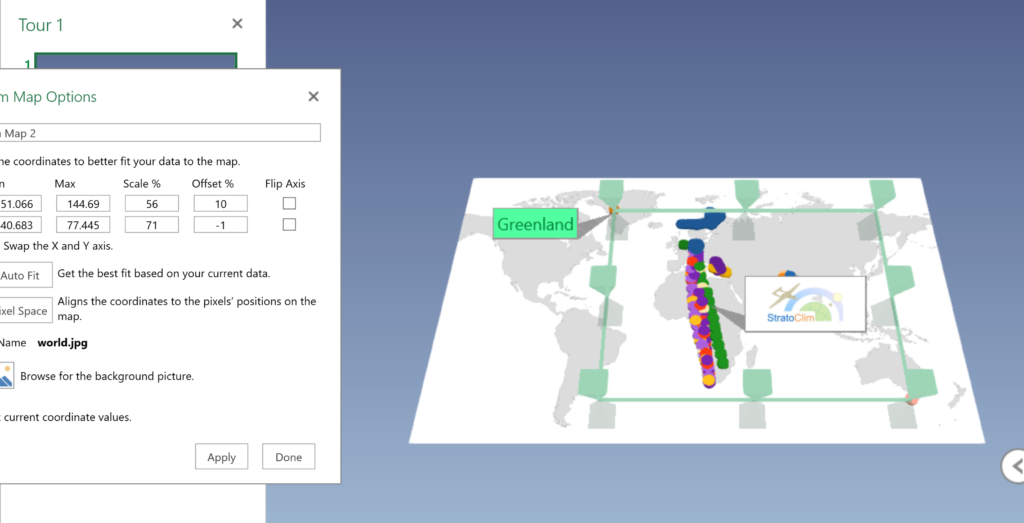
To can also use your own image as the map by going to Scene Options and then selecting Map Type Change.
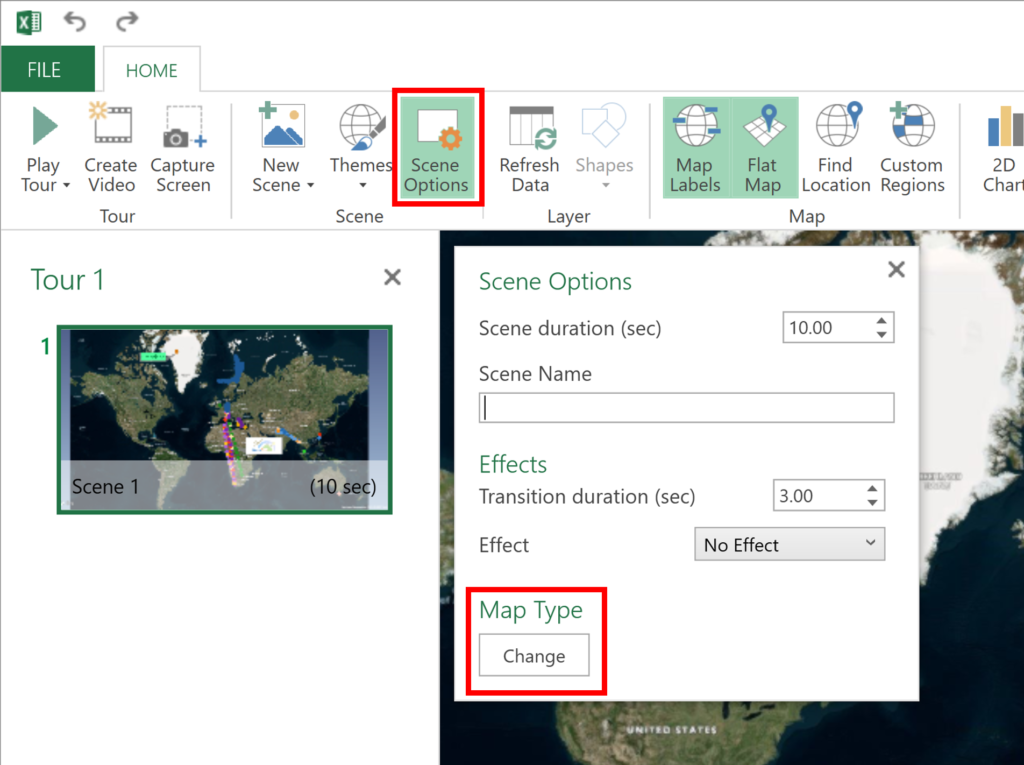
Next, select New Custom Map.

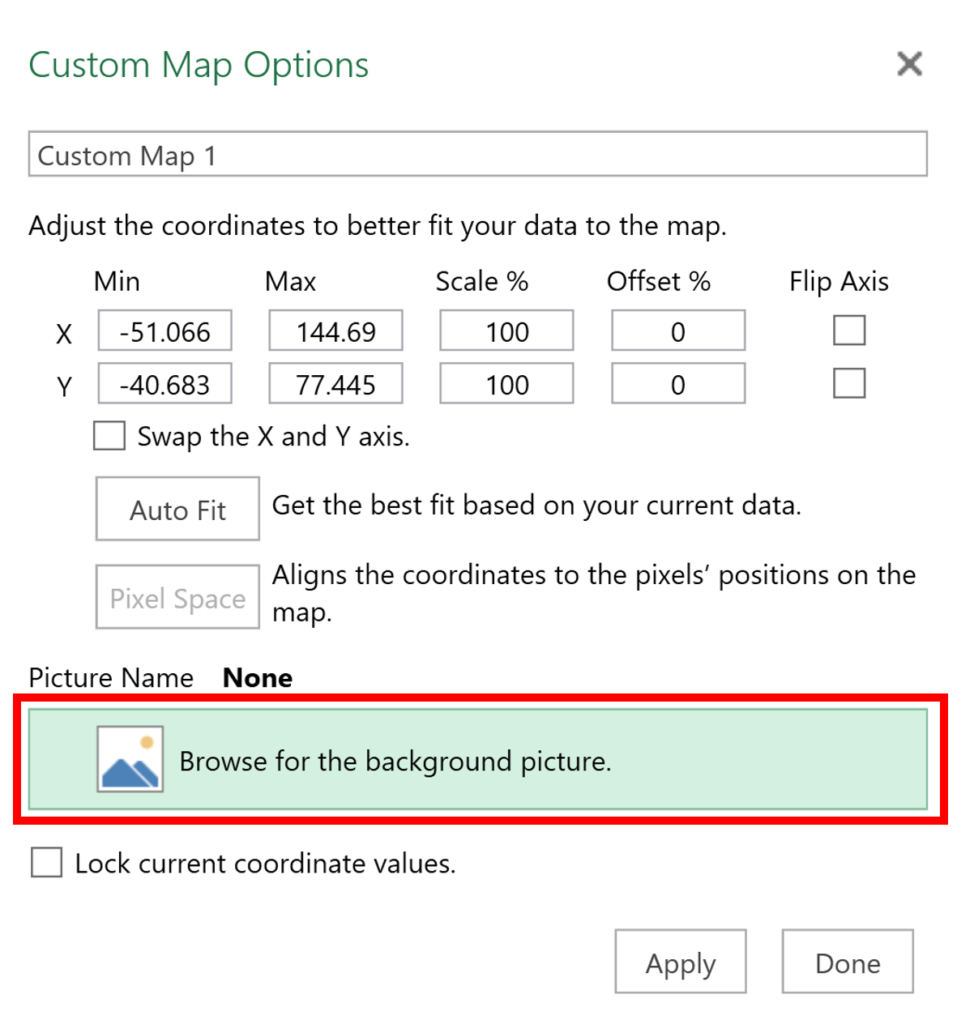
Then, in Custom Map Options, select Browse for the background picture and choose the image file on your computer that you want to use.
This changes the size of the data points, so go to Layer Options and adjust the size again.
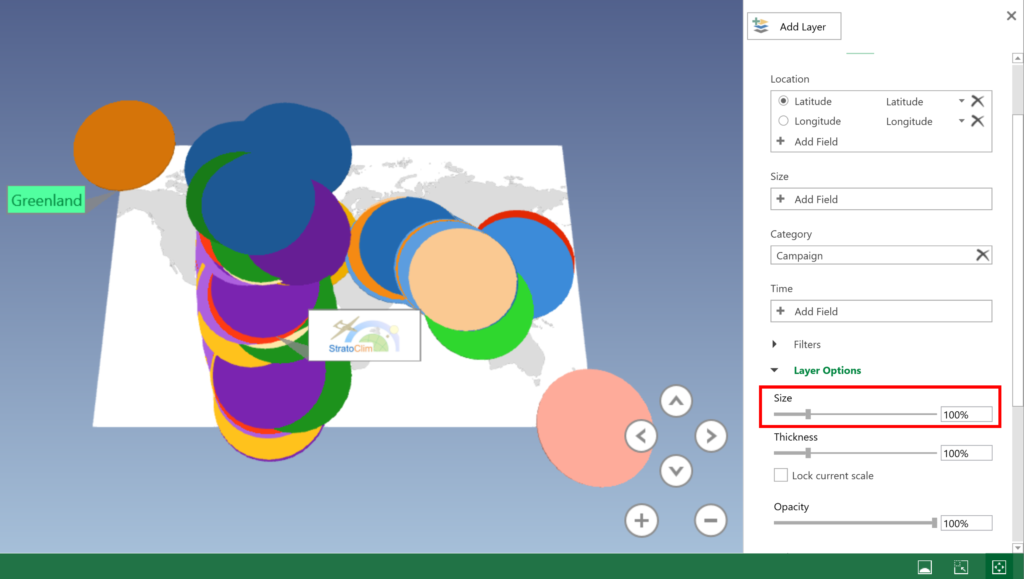
Move the corners of the green box, to move the data points back to where they should be.
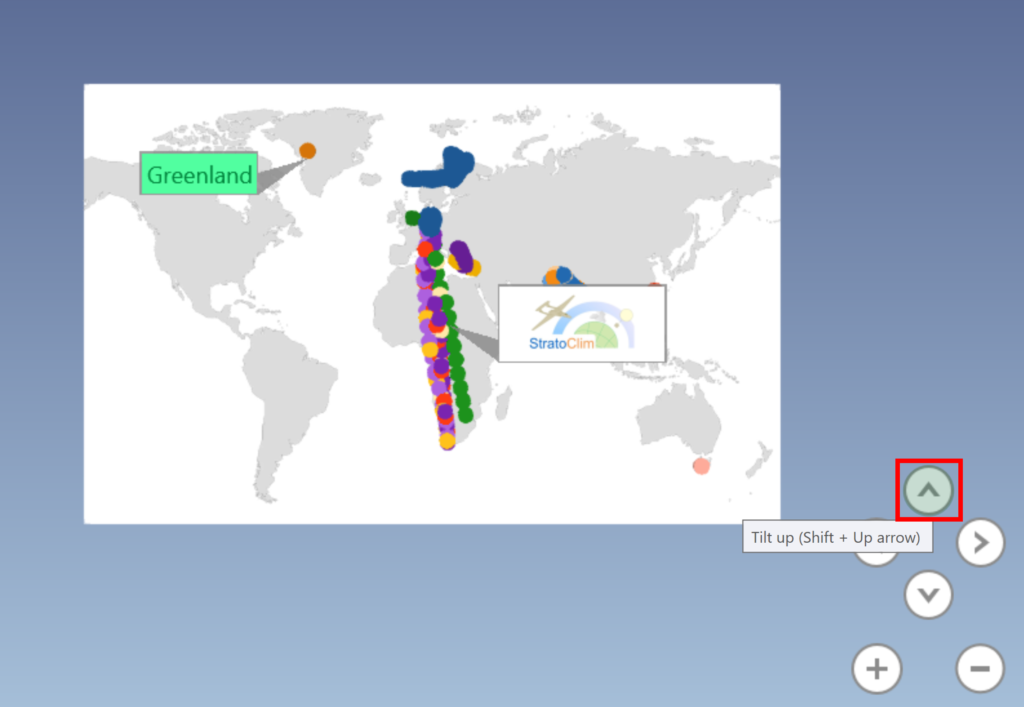
Use the up arrow to tilt the map up so that it is flat.
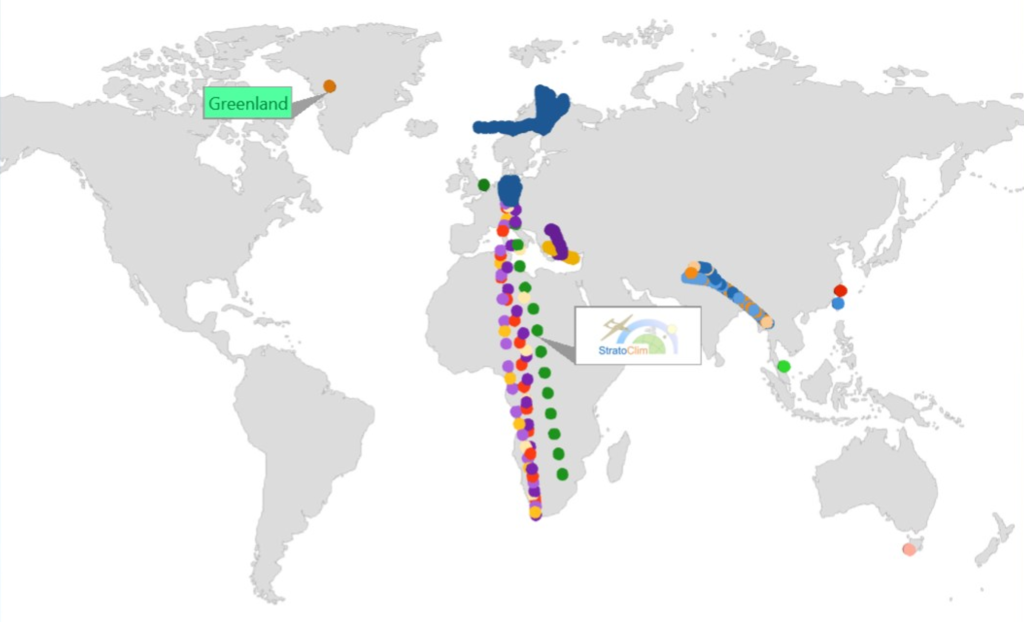
Remove the Tour Editor (on the left), and the Layer Pane (on the right) to make more space. You can also remove the navigation buttons in the bottom right hand corner. Use Capture Screen to copy the map to your clipboard as an image.
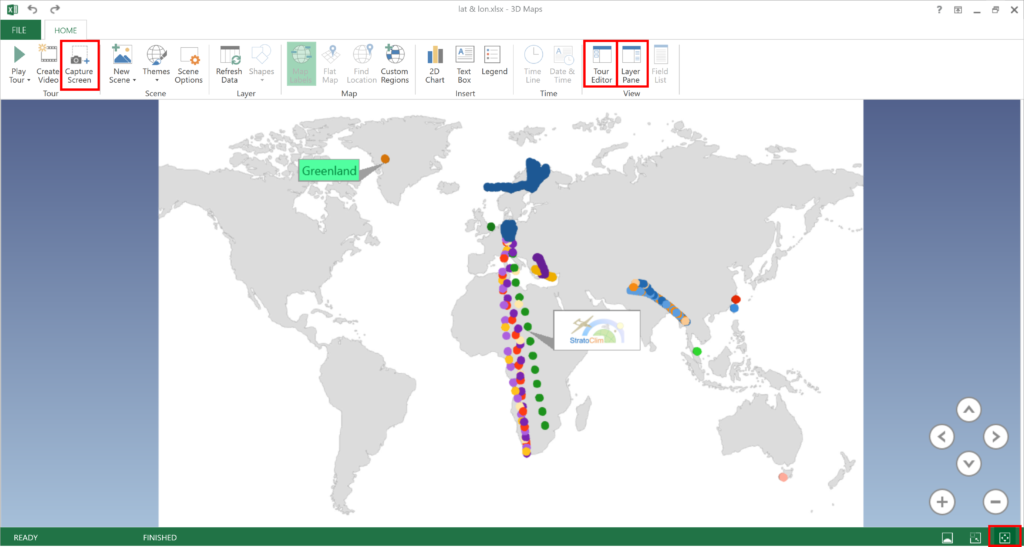
Now, you have an image of your map, that you can use for whatever you want.