In Microsoft Word you can compare two documents to find all of the differences between those documents. This is useful, if you are not sure what changes have been made to a document, either because somebody else made them, or because you can’t remember what you did. Its also useful if you forgot to switch on Tracked Changes and now need a tracked changes version of the document.
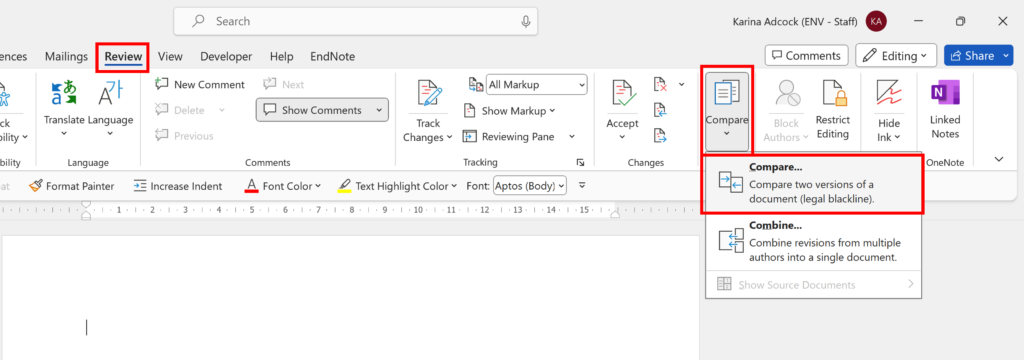
Open a blank word document. Go to the Review Tab, select Compare and then Compare two versions of a document (legal blackline).
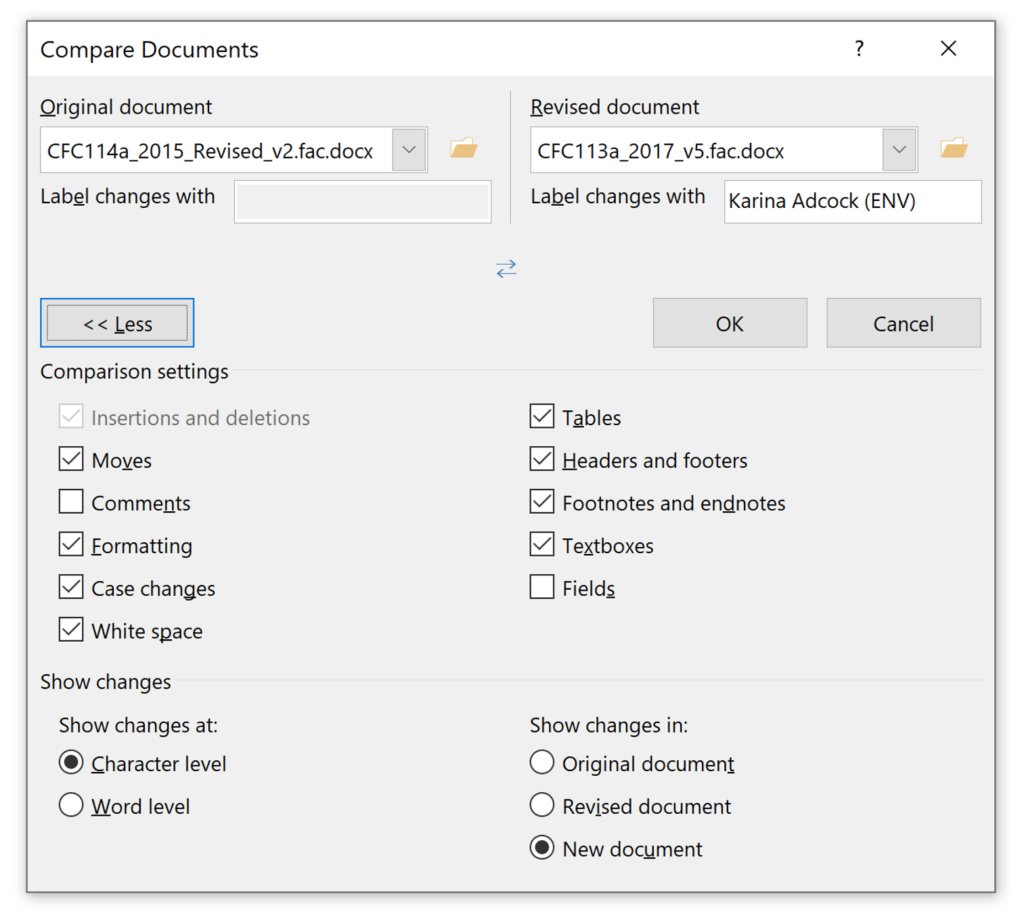
You can select the original document by clicking on the folder icon.
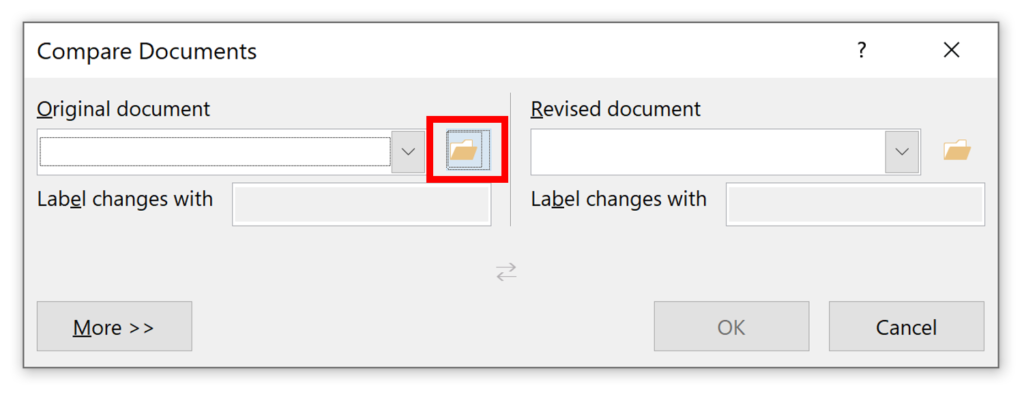
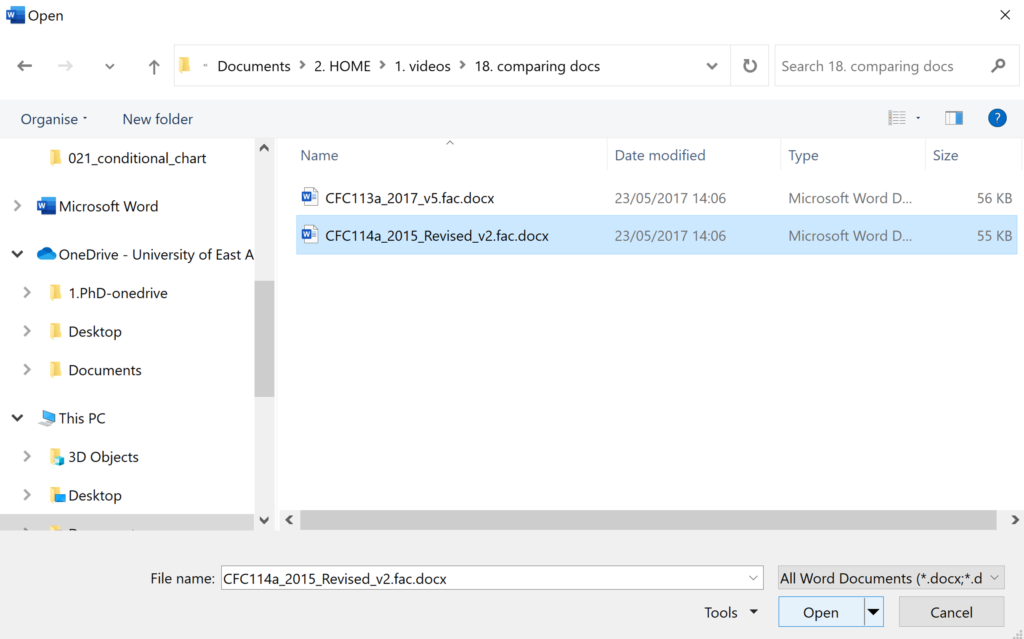
Select the document that you want.
Repeat this for the revised document.
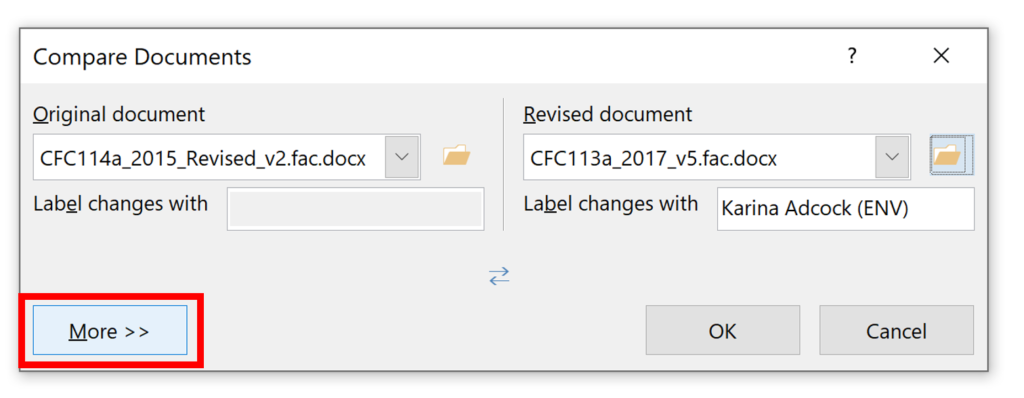
If you click on More it will show you all the different options. Leave these as the default options and then click OK.
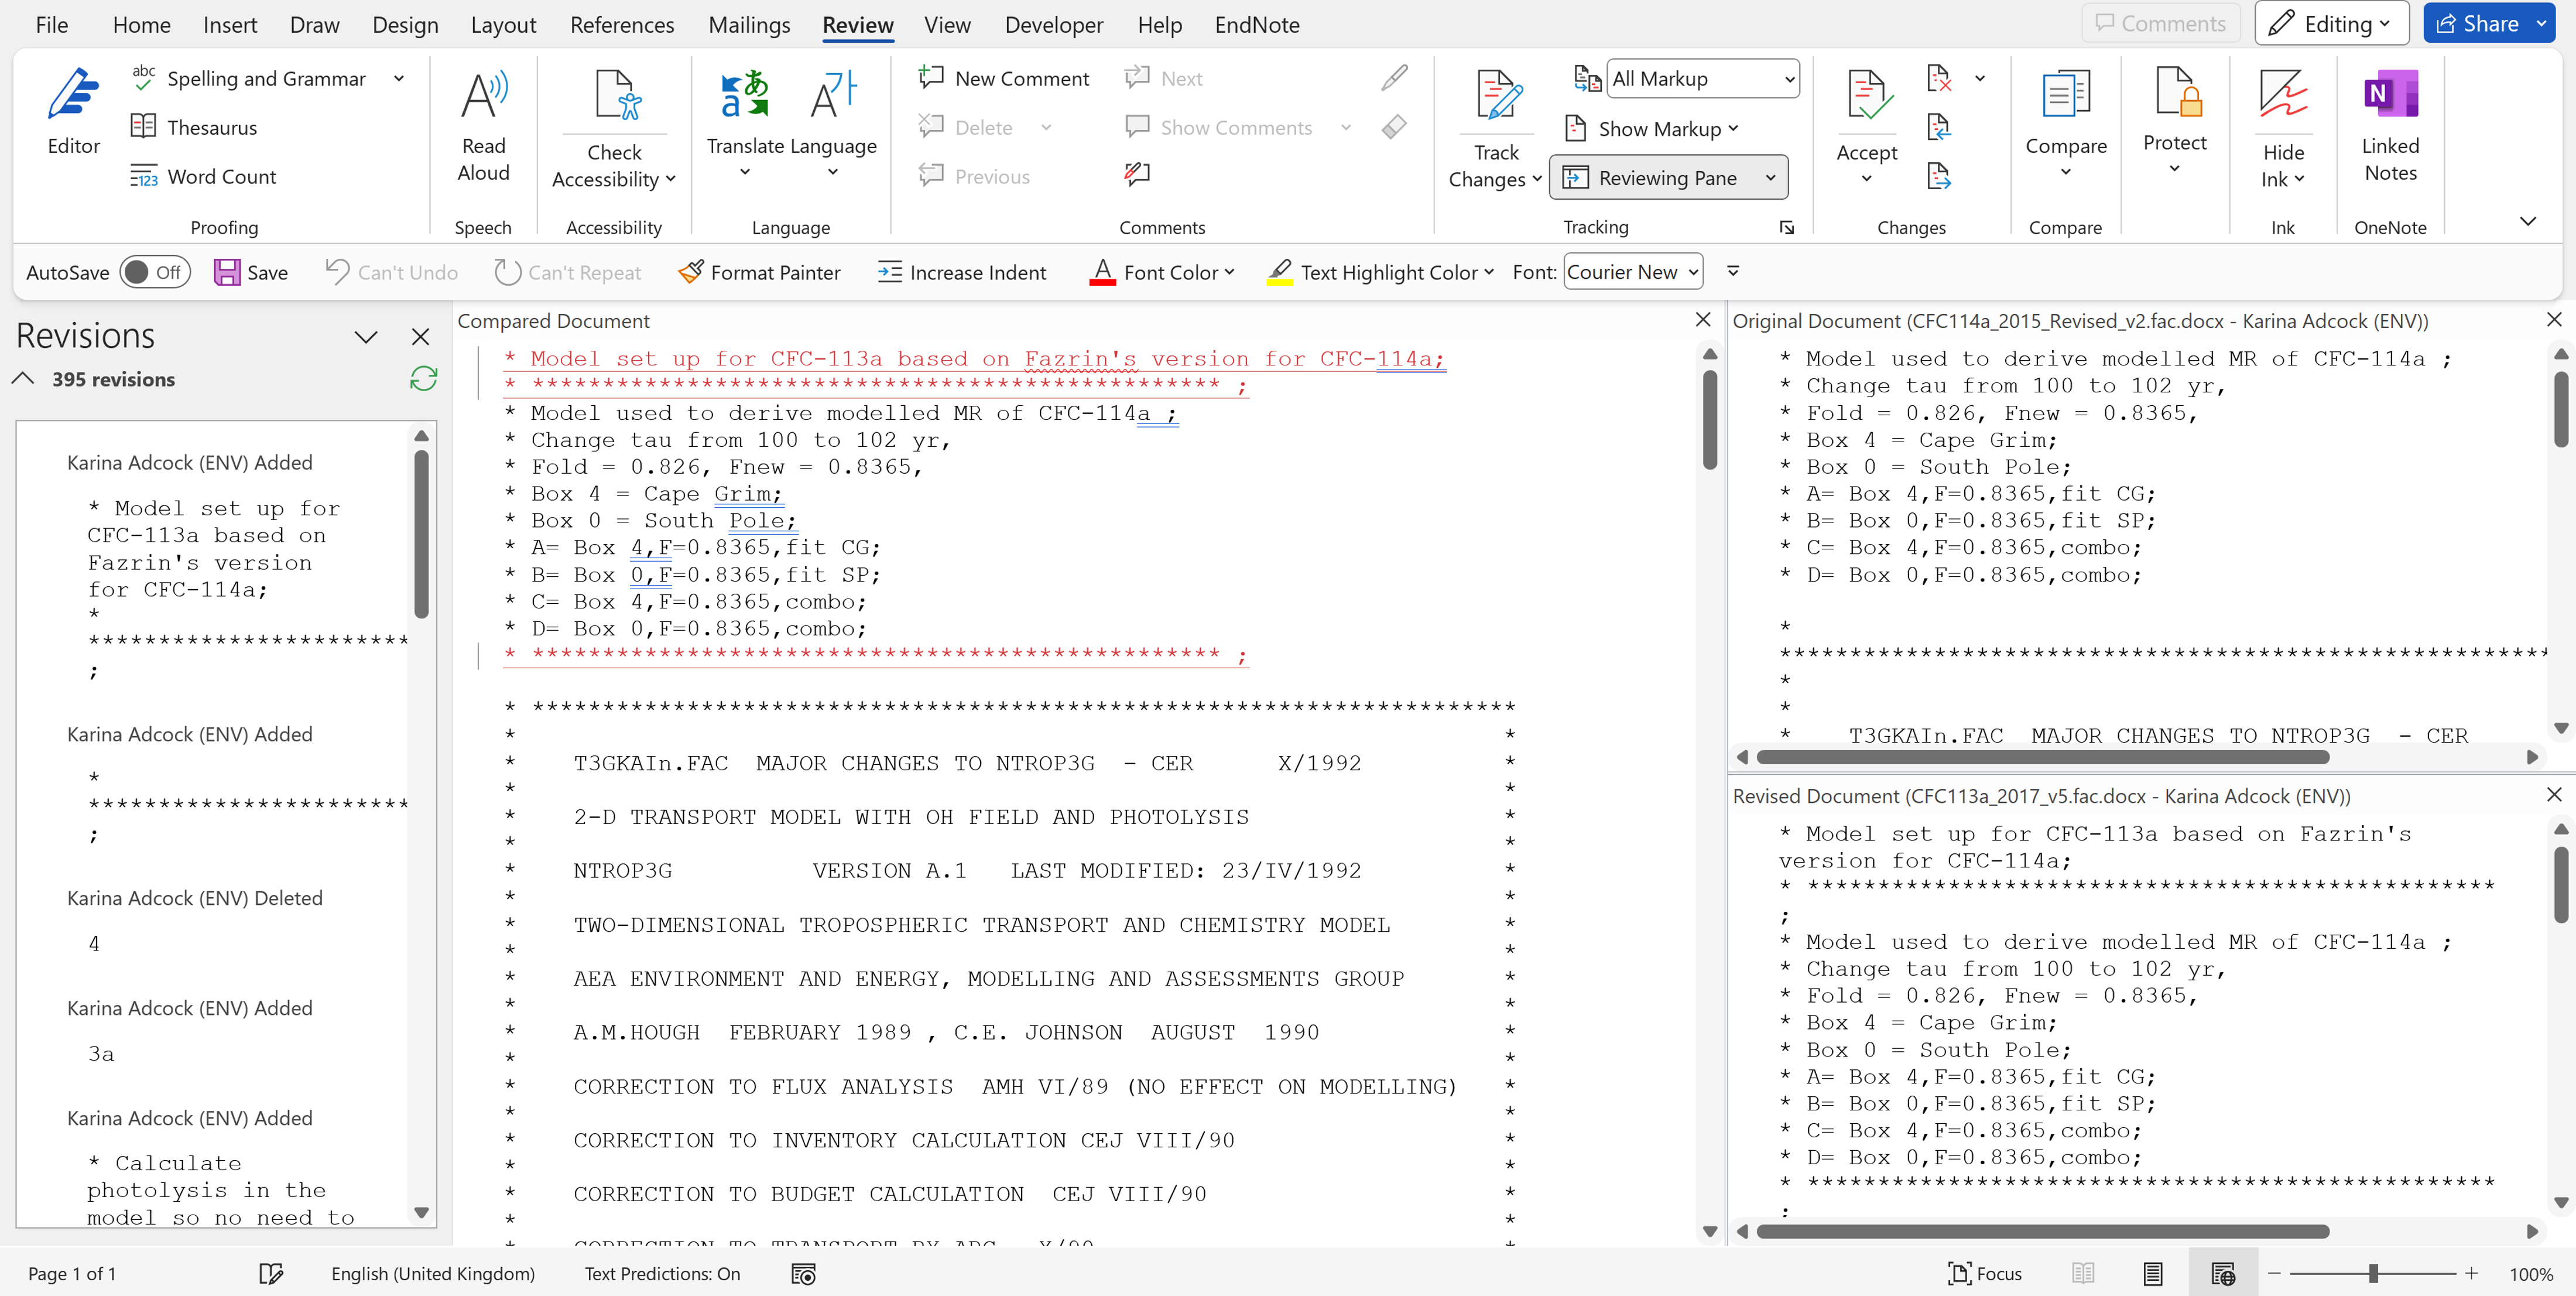
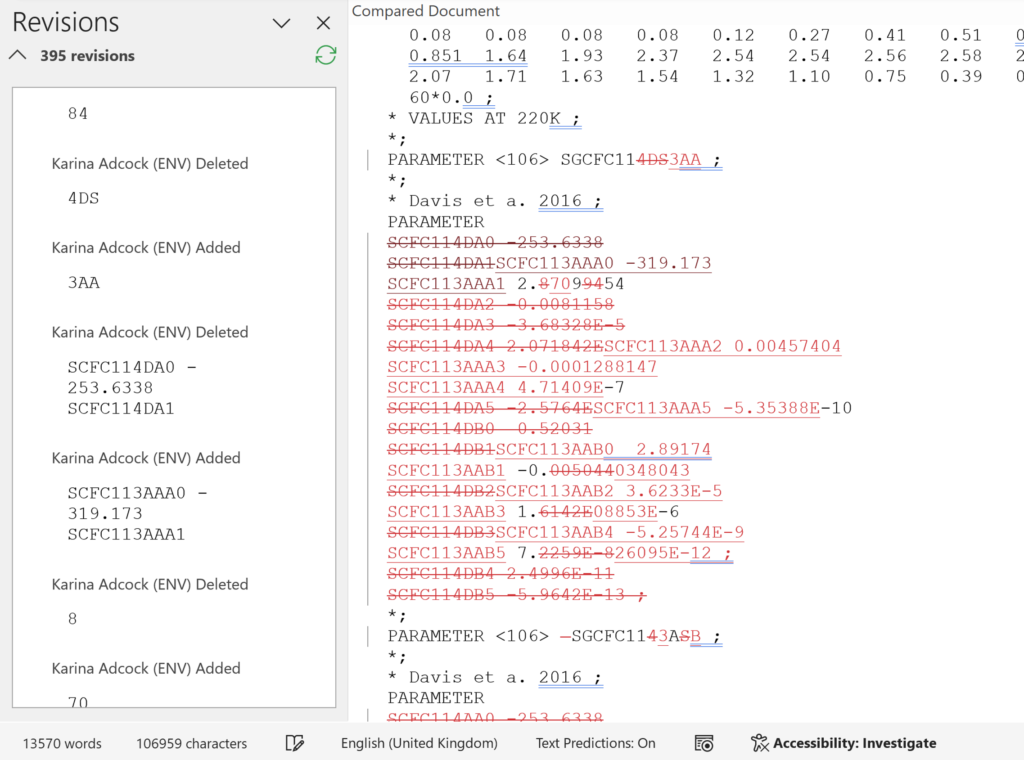
This will create a new document called the Compared Document, in the middle of the screen. On the left is the Reviewing Pane, this shows all of the revisions that have been made, if you click on one of these revisions it will take to that point in the document. On the right is the Original Document and underneath it the Revised Document. As you scroll down all three documents will move at the same time.
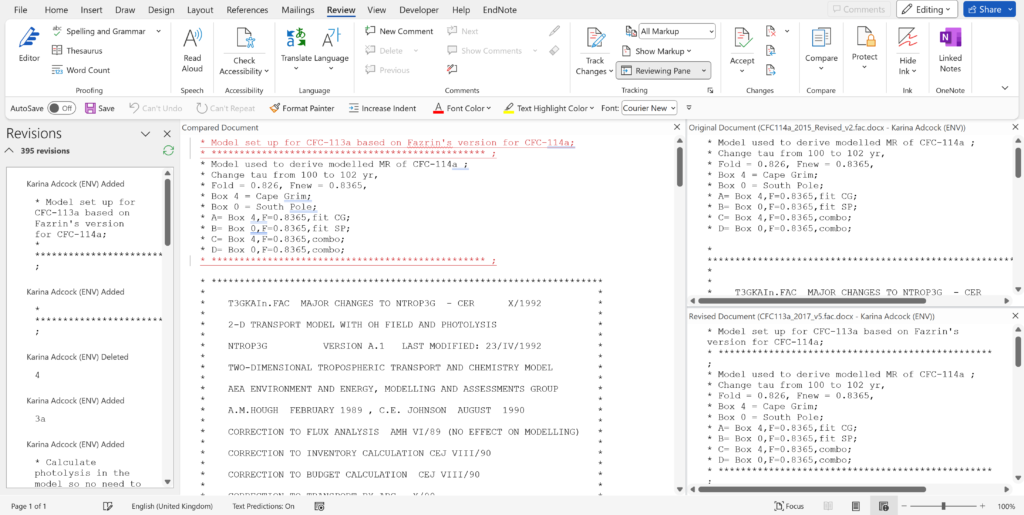
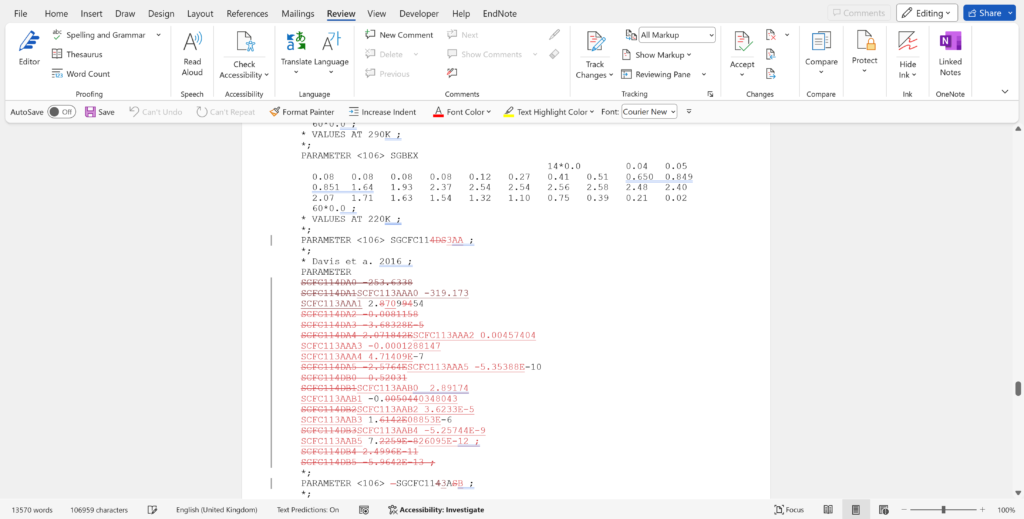
In the Compared Document any changes will be converted into red text, anything that has been added will be underlined and anything that has been deleted will have a line going through it.
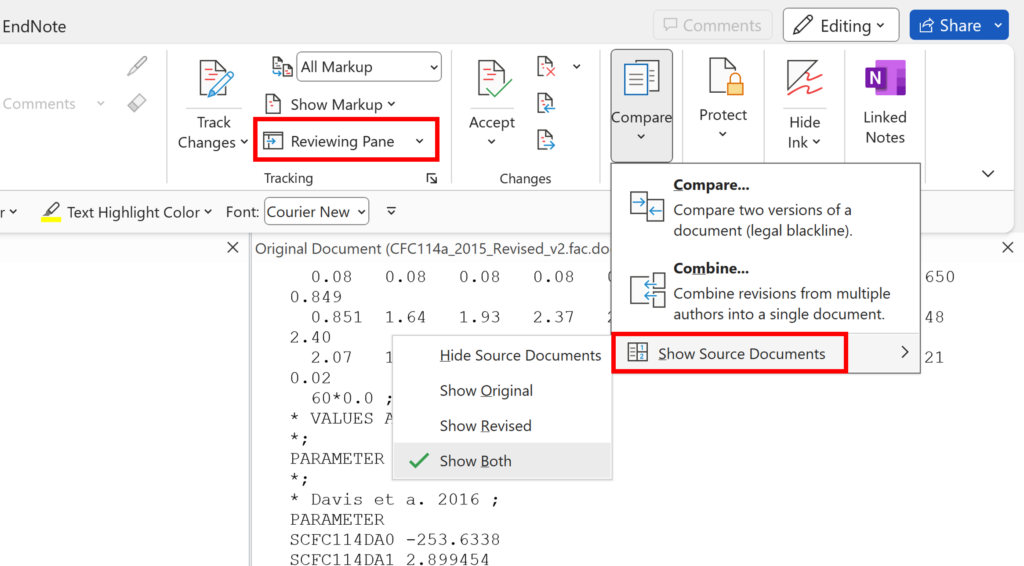
On the Review Tab you can click on Reviewing Pane to get rid of the reviewing pane, and click it again to get it back. Also, you can go to Compare and Show Source Documents to decide if you want to show the original and revised documents.
This is what the document looks like, without the reviewing pane and the original & revised documents. You can save this as a new document, and the result will be the same as if you used Tracked Changes while editing the original document.